Dryer balls; have you heard of them? They are fairly new to me, but i’m sure they’ve been around for ages. They’re pretty neat. Their purpose is to decrease the drying time of your dryer by getting in between the clothes and fluffing them, saving you time and money. They also claim to soften clothes and decrease static, just like dryer sheets. These are a great environmentally friendly option for a couple reasons: 1. They replace dryer sheets, which can only be used once and are then tossed in the garbage and 2. They decrease drying time so you don’t have to run the energy guzzling dryer for as long. Many of the dryer balls you find in the store look like this:

They are spikey, round and made of plastic. I almost bought some of these a couple months ago but they were $20 for a set of two. So I thought I’d shop around a little more. Then one day while on my daily Etsy browse I came across these:
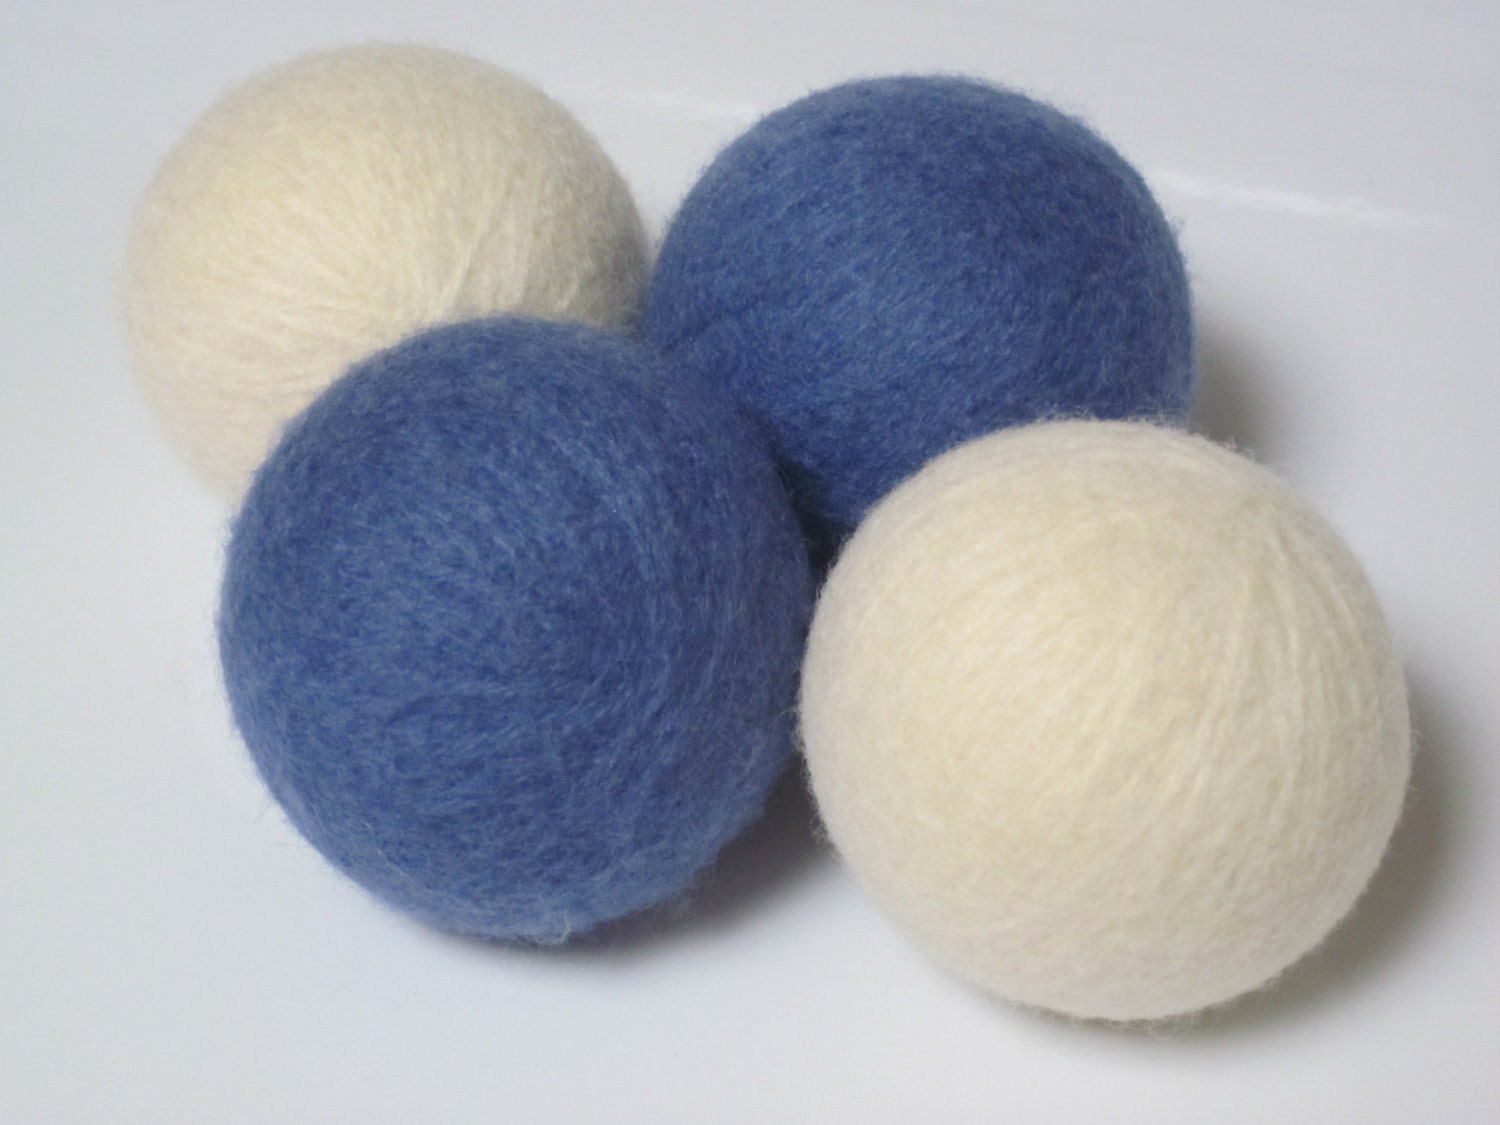
Wool dryer balls! Even more eco-friendly than their plastic counterparts for the following reasons: 1. They replace dryer sheets, 2. They decrease drying time, 3. They’re made of wool, a natural, renewable resource, instead of plastic. Score! And they’re more affordable; $20 for a set of 4. Double score! Then I thought, hang on a second, if someone else can can make these, so can I (I feel this way about a lot of things…). And so I did. And it only cost me, *drumroll please*, $6 for 3 dryer balls. Woohoo! There are probably many different ways to make wool dryer balls, but a quick google search gave me this easy tutorial. The following is my version of a tutorial:
The Semi Step-By-Step Easy Dryer Ball Tutorial…
You will need:
– 2 balls of 100% wool, not the superwash kind, it needs to be able to felt (1 ball of wool made 2 1/2 dryer balls, just to give you an idea)
– a sock or nylon
– string… and thats it!
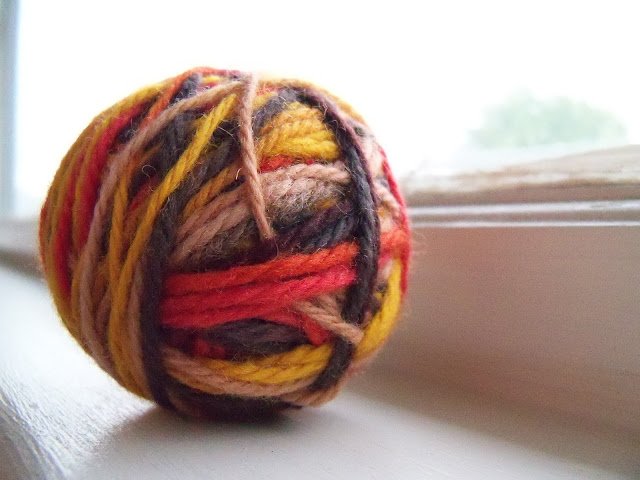
Start by making a small ball with your wool. I find that wrapping it around 2 or 3 fingers works the best until you have a good amount of wrappage, then wiggle it off your fingers and start winding all around it until it becomes round. Wind a little tighter than you would a normal ball of wool. Continue winding until your little ball has a 5 inch circumference. Like this:
Make 3 of these little guys. Stuff the balls into an old sock or nylon separating them with a piece of string so they’re not touching. Like so:
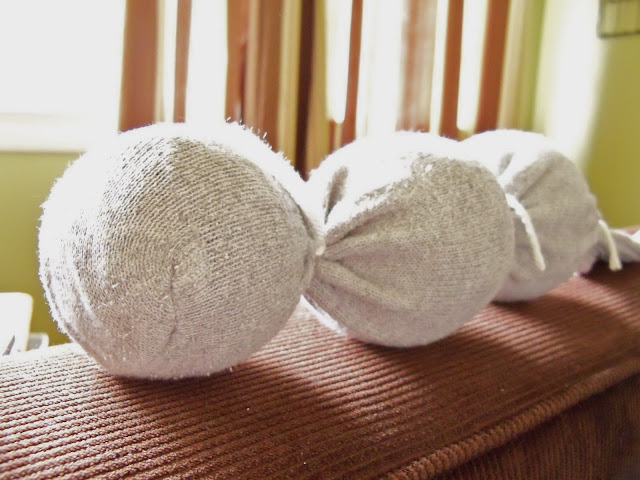
This ensures they don’t fall apart during the felting process. It’s also best to use something other than wool for tying around the sock so as not to felt those as well.
Then throw them in with a load of wash, preferably hot, where they will start felting! You can felt them by hand, but I’ve heard that takes much longer and if your household is anything like mine, there is always a load of laundry that needs to be done anyways. Once they are done in the wash, throw them in the dryer with the rest of the clothes. When they are dry, remove them from the sock and voila! The first felting step is complete. Easy peasy!
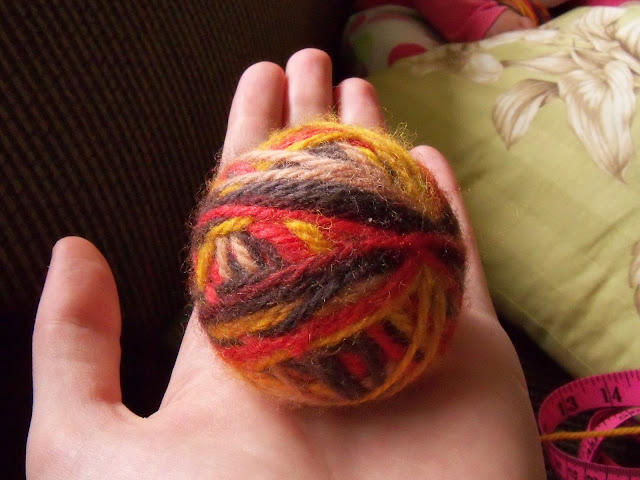
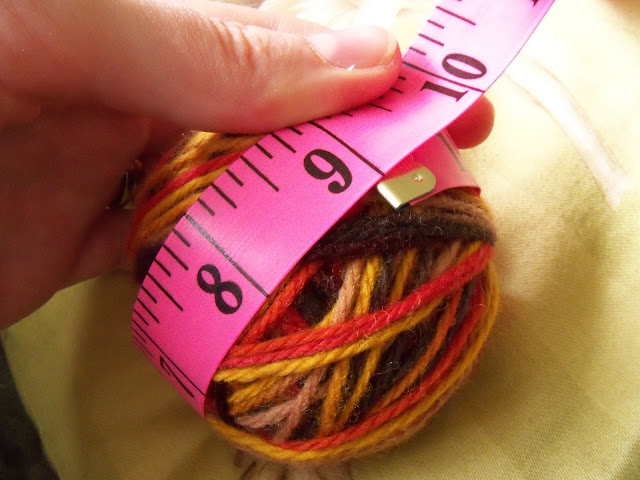
All fuzzy and felted 🙂 Now onto the second step. Basically repeat everything you just did, only instead of making a new ball, start winding around the balls that have been felted until they are about 9 inches in circumference.
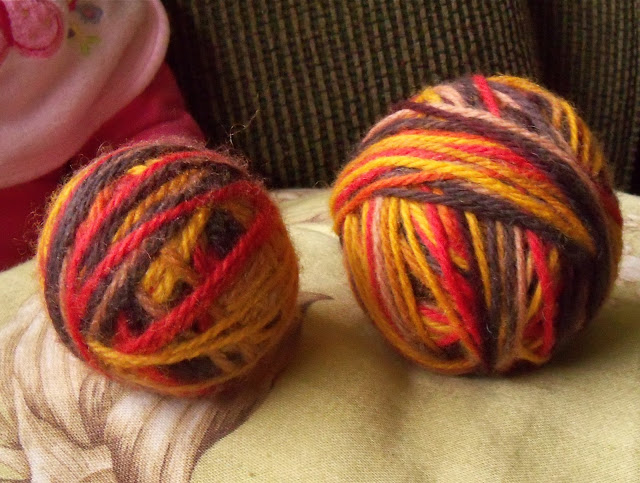
Three little dryer balls, ready for round two of the felting process.
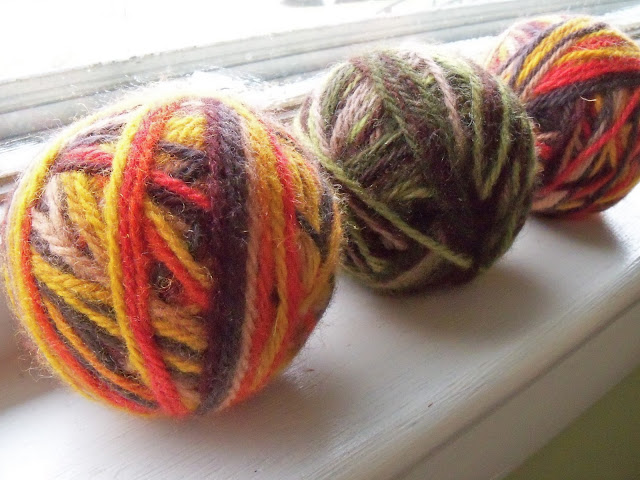
Stuff them back in the sock, separating them with string again so they aren’t touching. Toss them into another load of laundry to be washed and dried. When they are dry, remove them from the sock again and they are ready to be used.
To use them, toss them into the dryer with a load of laundry as you would a dryer sheet and watch them work their magic! Now I haven’t gotten much use out of them yet because my clothes have been drying outside in this beautiful weather. But once the inevitable winter weather is upon us, I’ll be able to test them out a little more. What I have determined so far is that they do decrease drying time by about 5-10 minutes. I did read somewhere that for optimal use of wool dryer balls, you should use between 6 to 10 of them. I better start making some more! I also find that they sometimes get lost. I lost one little guy for about a week. He was no where to be found. Later I found him in the arm of a sweater I had set aside. Silly guy. . . I’ve also found them in my daughters pant legs. So if yours happen to go missing, just do a thorough check of your clothes. It’s bound to pop up somewhere. Once I start using them more frequently, I’ll report back on how well they are working.
I hope this tutorial is comprehensive. If you have any questions please ask!
Happy felting!
