So a while ago (ok, it’s actually been a couple years…), I wrote about how our family was giving up boxed cereal. Well I am happy to report that it has been a great success! I’m pretty sure I can count on one hand the number of times we’ve purchased boxed cereal since deciding to give it up (and it was actually in a bag without a box AND it was mostly when I was pregnant and ate cereal as a bedtime snack on a regular basis…).
Since then our breakfasts have included baked oatmeal, granola, the occasional eggs with hashbrowns and extra large batches of pancakes (we freeze the leftovers so we can pop them in the toaster for a quick pancake breakfast).
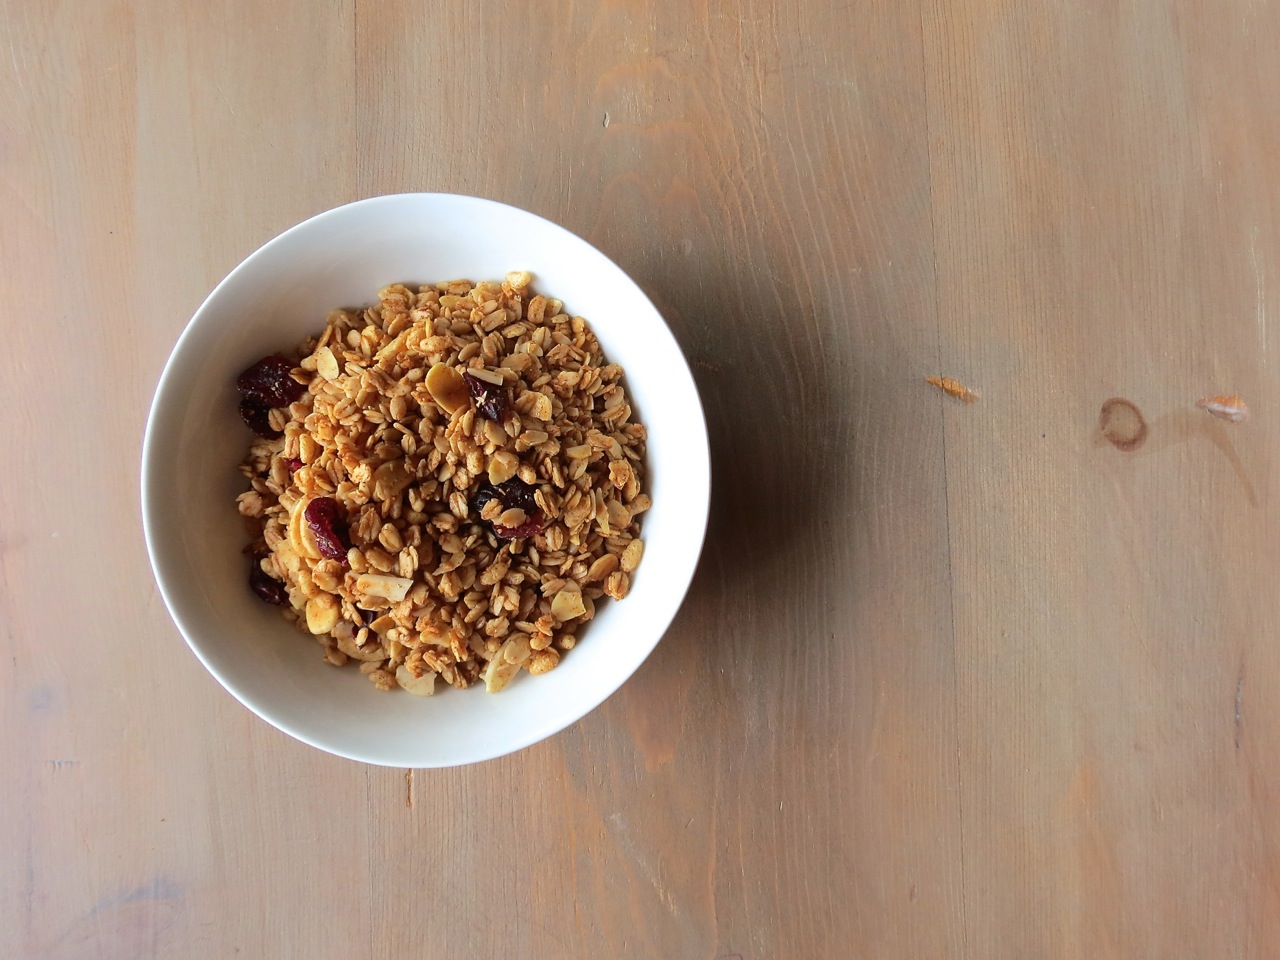
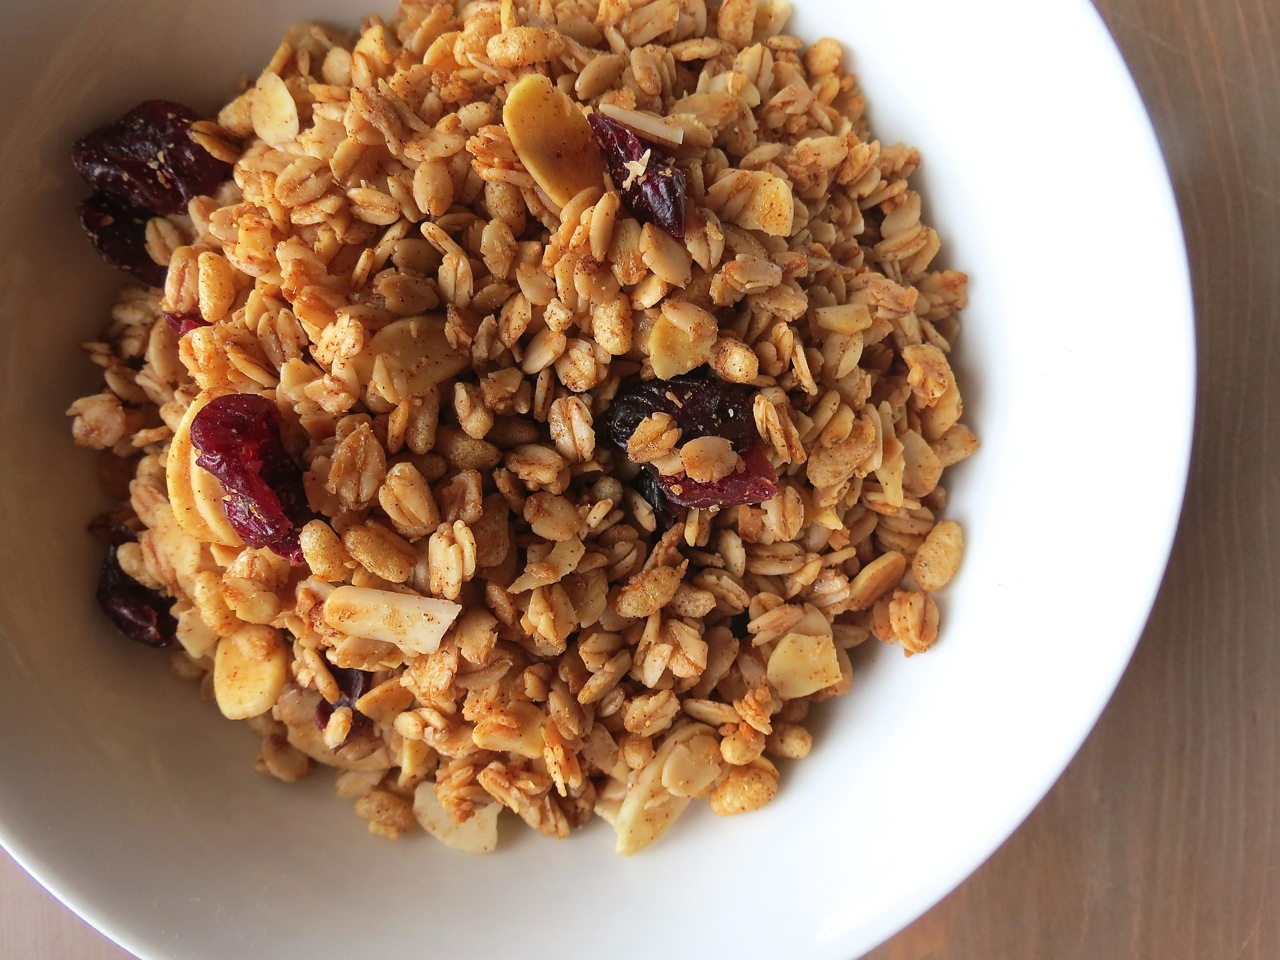
Today I’m going to share our tried and true granola recipe. It is deliciously crunchy with an excellent flavour. Whenever we visit someone or when people visit us, we fill up a mason jar of the crunchy goodness to share (we secretly want to convert everyone to eating homemade granola instead of the sickly sweet, overpriced boxed cereal counterpart… hehe, we are SO conniving) (Ps. If we have been to your house or you have been to mine and you have not received a jar of granola, please feel free to demand your jar of granola next time we meet 🙂 ). We also just recently tried selling our Granola for the first time at our local Makers’ Market with great success! We developed 3 favourite flavour blends; Cranberry Almond, Maple Pecan and Pumpkin Spice. Today I’m sharing the Cranberry Almond recipe so that you can make this delicious granola for yourself!
This recipe is also super versatile; sometimes we use regular oil, sometimes we use coconut oil but most of the time we use butter (gasp!). Butter is probably our favourite. We also change up the honey for maple syrup or sometimes use a little of both. ALSO this is a great gluten free recipe.
The hubs also created a cost break-down analysis of this granola, right down the electricity use (Woowee, he’s so dreamy!). For a 350g box of good quality granola cereal it costs around $5. For 350g of our homemade granola it cost us $1.79 give or take a little depending on your add in’s. That saves us approximately $85 per year on granola! And we are crazy food people who lean towards purchasing local and/or higher quality ingredients. So there is some wiggle room to get that number even lower.
This recipe has been adapted from The Homemade Pantry: 101 Foods You Can Stop Buying and Start Making. This is an excellent cookbook that contains a few of my favourite recipes including Maple Popcorn and our favourite Cornbread recipe.
Oh, and this recipe makes a boat load of granola (1.8kg/13 cups). It usually lasts us well over a week.
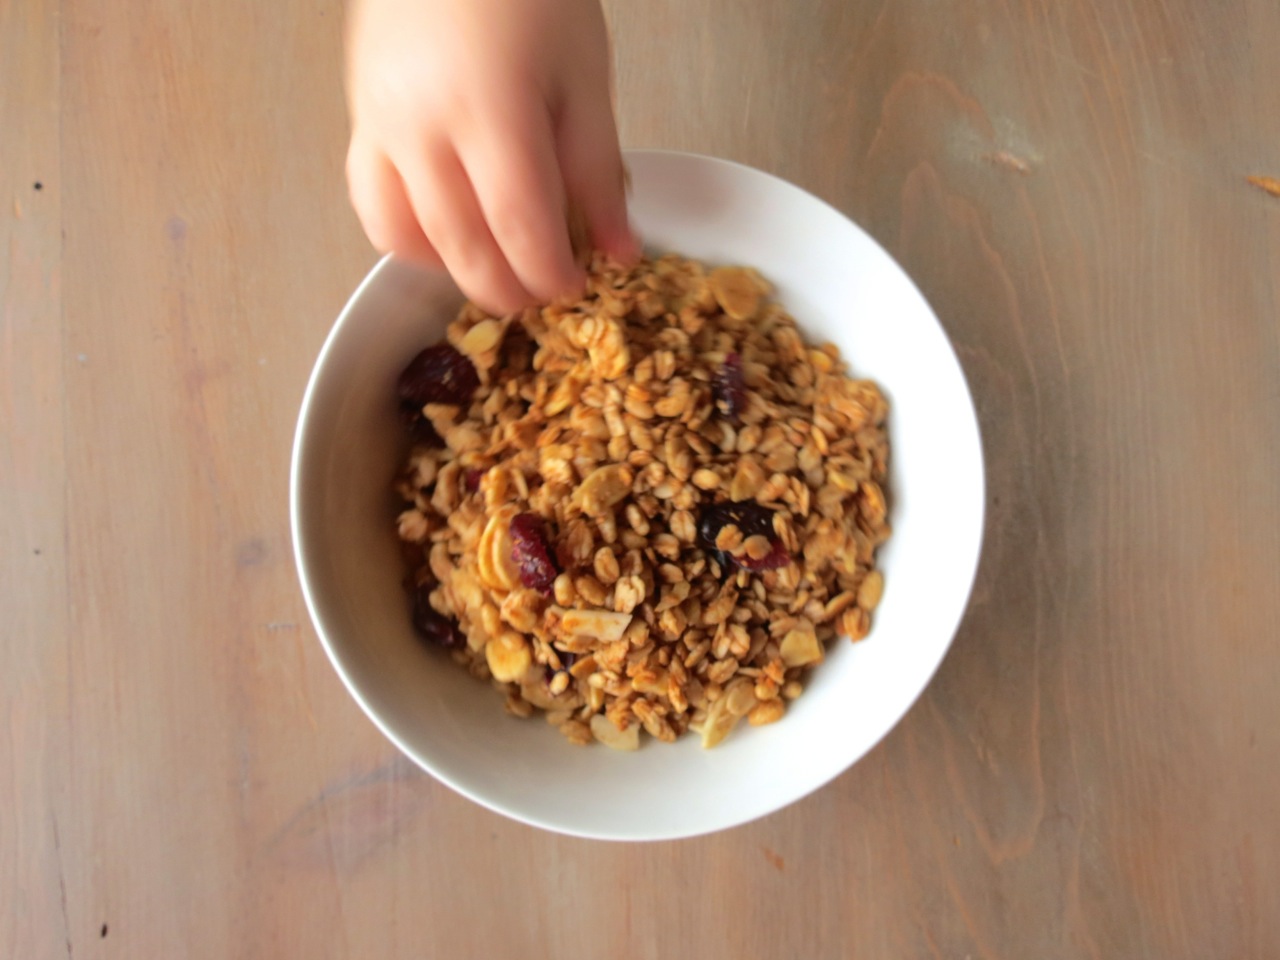
Even the little ones in your life won’t be able to get enough of this!
Anyways, on to the recipe!
Cranberry Almond Granola
8 cups rolled oats / large flake oats
2 cups crispy rice (I use these which I buy in a big bag)
2 cups sliced almonds
1 cup unsweetened shredded coconut
1 tbsp cinnamon
¾ cup oil
1 cup honey
2 tsp vanilla extract
1 tsp almond extract
- Preheat oven to 250F (or 235F with convection).
- Mix together all the dry ingredients in a LARGE bowl.
- Mix together all the wet ingredients in a smaller bowl or large measuring cup. If using butter or coconut oil, you will need to melt first.
- Add wet ingredients to dry ingredients and mix until everything is coated.
- Spread onto 2 parchment paper lined cookie sheets and a 9 x 13 inch pan; that’s what works best for us! Feel free to use whatever it fits on making sure the granola is no thicker than approximately 2cm.
- Place into preheated oven for 1 ½ hours stirring and rotating pans every 30 minutes. At the 1 ½ hour mark, instead of stirring, turn the oven off and let sit for 6 hrs or overnight. This is the key to getting a perfectly crunchy granola.
- When it’s finished cooling, place into jars or into a large reusable container (I use one like this that I found at the thrift store). Top with some cranberries and a generous serving of whole milk (stay tuned for why we choose to drink whole milk) and you’ve got yourself a delicious breakfast! It also tastes great sprinkled with fresh fruit and a dollop of yogurt. Yum.
Recipe Notes
- You could also just use rice krispies or any crunchy puffed cereal that you like.
- I would recommend a cold-pressed canola oil, coconut oil or butter (our fav!).
- If using maple syrup, DO NOT use the store-bought Aunt Jemima’s stuff. You need the real deal here folks.
- I would recommend using raw honey.
Tip: If you are using raw honey, it will likely be more solid than liquid. It is best not to microwave raw honey because you will nuke all the good stuff right out of it (same with coconut oil). If you are using butter you can use the microwave to melt it then add the honey to your warm, melted butter and that will be enough to liquify it. If using a different oil, you can melt the honey in a small saucepan until it is just melted and not boiling (same deal with coconut oil). This only takes a couple minutes. You can also put it in the oven in an oven safe dish while your oven is preheating. We usually forget to do that though…
So go make up a batch of this and come back to let me know if you’ve been converted! What other breakfast meals have you been conjuring up? I’m always open to new ideas!
Thanks for stopping by,
Ashley “)

We’ve been converted! It’s been a little over a year now since we’ve been making our own version of this recipe. We like to use coconut oil, kamut puffs for a bigger crunch, and depending on how we feel we add some extra spices. Ginger is delicious in there!
We like to eat it with yogurt, fruit, or I’ve even used it to sprinkle the tops of banana or zucchini loaves or muffins.
It makes super tasty and quick granola bars as well.
Ginger! Interesting. We were thinking of making an Apple Pie flavoured granola with dried apple chunks and apple pie seasonings which would probably include ginger.
I always forget the Rice Krispies.
Rice krispies add the perfect amount of crunch!
We bought some of your granola at a hand-made sale in Baden. I am in love! Its the best granola I have had! I’ve tried a lot of granola recipes, but I’m very excited for this one. Thanks for perfecting it and sharing it!
Thanks for the compliment! We are also in love with this recipe 🙂 And it’s fairly simple too. Happy baking!